 So, for Super Saturday, I made this as a sample. This week I will pretty much show you all sorts of samples I made. This is a quart sized jar gift. The colors are regal rose, tempting turquoise, and certainly celery, which I believe was the color challenge a couple weeks ago - one that I never got to. The recipe came from a little book I got at Walmart, either last year of the year before that -- for $3 -- it is called "Holiday Jar Mixes" by Andra Roberts and Wilma Teal.
 Here is the recipe:
Holiday Spice Cake Mix
In the jar:
2 ½ cups all-purpose flour
1 ¼ tsp baking powder
1 ¼ tsp baking soda
1 ¼ tsp cinnamon
¼ tsp cloves
½ tsp ginger
½ tsp allspice
1 ¼ cups white sugar
½ cup packed brown sugar
In a medium bowl combine all ingredients. Mix. Place in a 1 quart glass jar. Attach a recipe card with the following ingredients and instructions:
ADD INS:½ cup butter, softened
1/3 cup shortening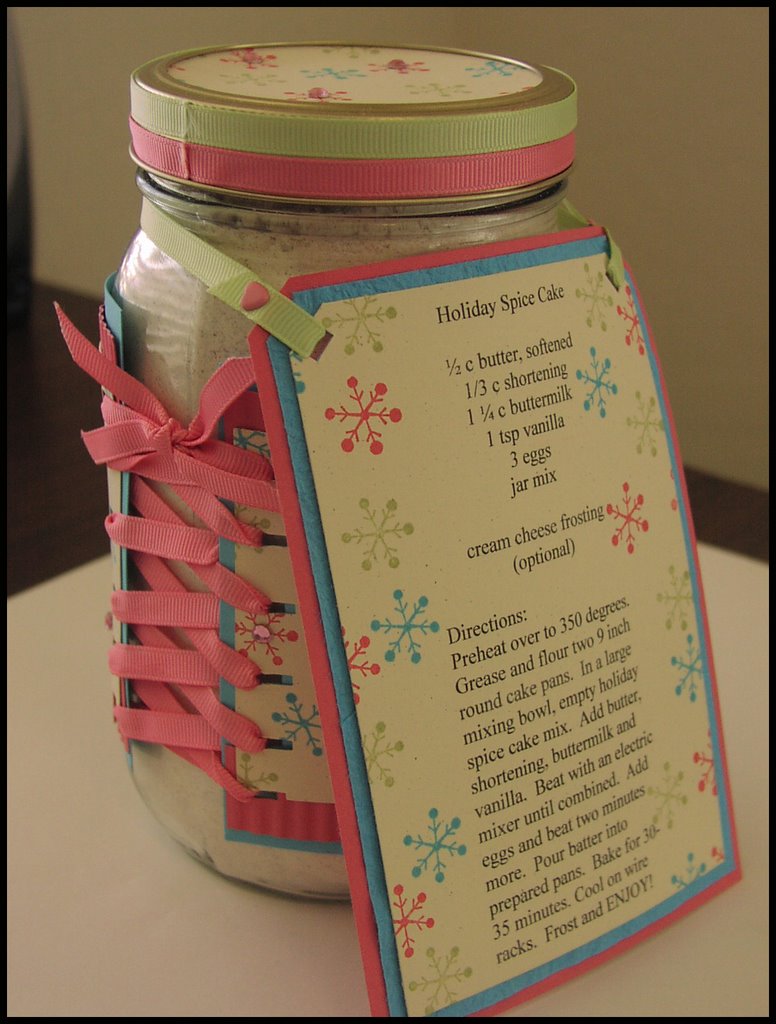
1 ¼ cups buttermilk
1 tsp vanilla
3 eggs
Cream cheese frosting (optional)
Directions: Preheat oven to 350 degrees. Grease and flour two 9 inch round cake pans. In a large mixing bowl, empty Holiday Spice cake mix (from jar). Add butter, shortening, buttermilk and vanilla. Beat with an electric mixer on low until combined. Beat 2 minutes on high speed. Add eggs and beat two minutes more. Pour batter into prepared pans. Bake for 30-35 minutes or until inserted toothpick comes out clean. Cool on wire racks. Frost with cream cheese frosting if desired.
Comments
Wonderful gift idea.