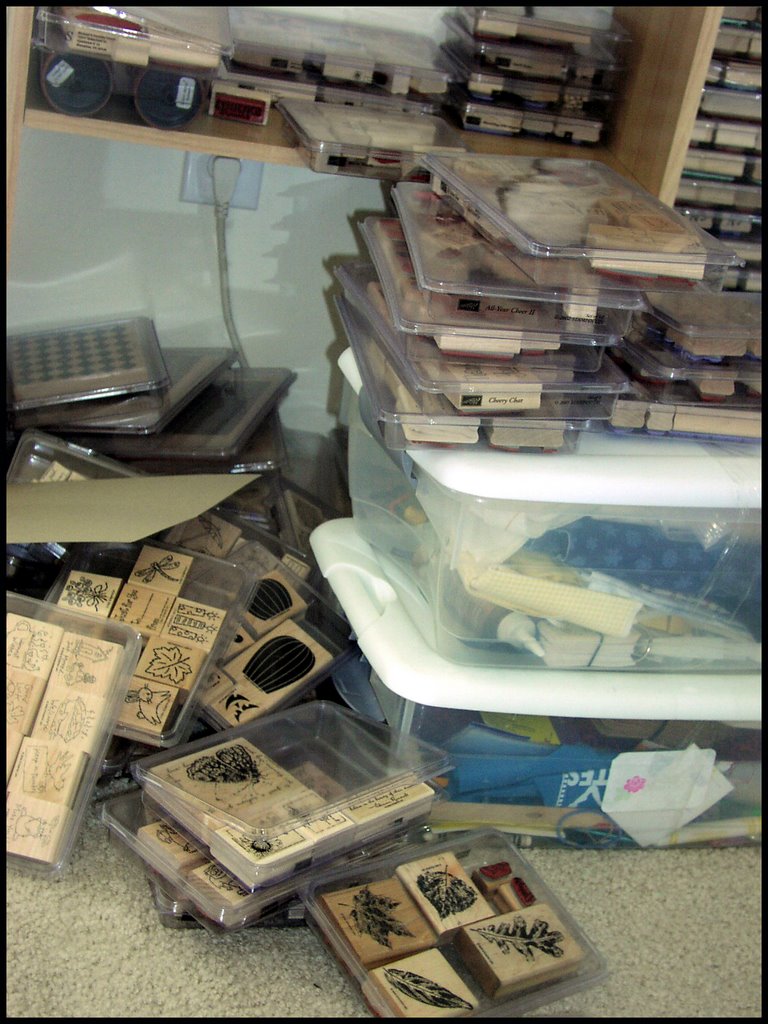
 Am I the only one who is random in their selection of what stamp set to use? I have this nice shelf to store my stamps on, but somehow they always end up in a big pile on the floor. SERIOUSLY!! (a little Grey's Anatomy reference for all you GA fans)
 Today, SU "Bugs and Kisses" just happened to be the one on top, calling my name, so it got a little more use. I have been playing with my alcohol inks and made this blue and green background, and when I grabbed this set, I instantly could imagine the bugs embossed in black on this background. SO, I did it. I think it turned out cute. It's a very simple layout, but it works. The background was created by placing a round magnet on the paper and then dotting around it using the gel pen. Really simplistic, but I think it worked out well.
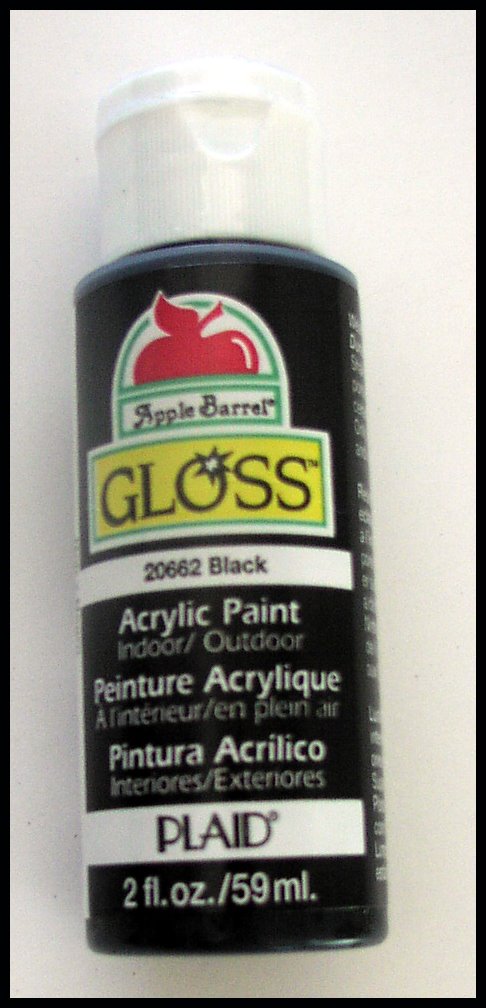 The sentiment is framed using chipboard hardware by Basic Grey. I painted it black using the coolest paint -- it is glossy paint. I got it at Walmart for 77 cents. It works perfectly for things like this -- also really good for painting metal -- such as those tins that everyone was doing not so long ago. After the paint dried, I used my white gelly roll pen to create stitching. I wanted to sort of mimic the ribbon. The ribbons are both from Michael's. The green and turquoise one I got for $1 and was just waiting for the perfect opportunity to put it to good use. Oh, and I colored the eyes of the grasshoppers white and the dots on the lady bugs blue (both gelly roll pens), just cause I thought it would be fun!
Anyway, must go now . . . M wants me to pick up X-Men 3 and the kids want The Little Mermaid -- so after calling around to the stores in town, I think I have found some of the best prices . . . have a good Tuesday! Oooh, and I am sending out packages to my two winners today -- sorry it took me so long to send them -- hope you like them *smiles*
Comments