
Finally: CK Kits

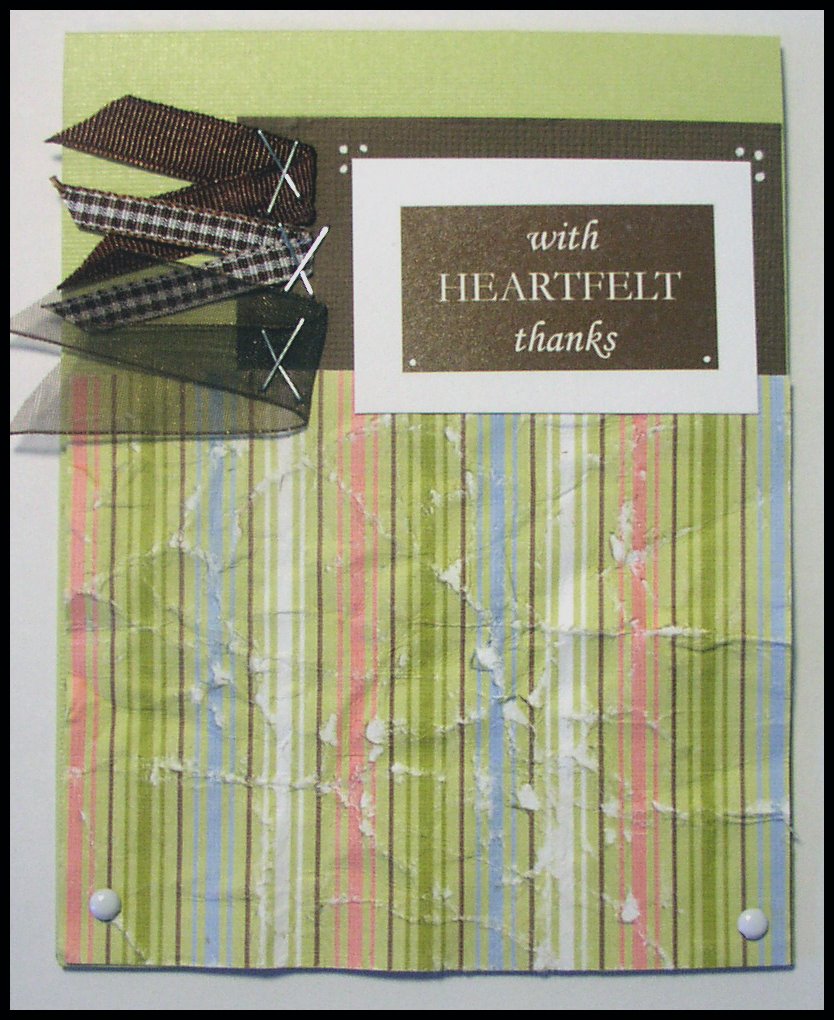
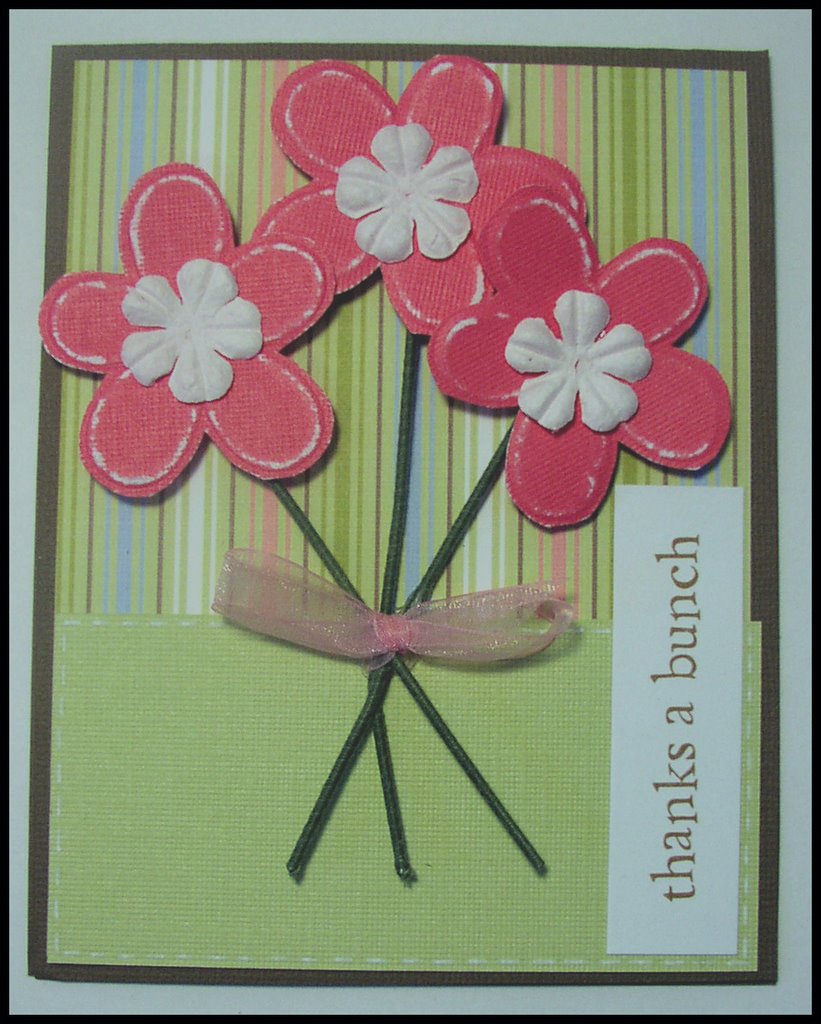
So last night after I finished watching Desperate Housewives (SPOILER ALERT: so soapy, but oh my gosh I cannot believe Andrew went home to Bree) and "The Lake House" (I was surprised at how good this one was -- DH had to over analyze it though, as usual *sigh*), I decided to work on the cards in the card kits that I got at the Creating Keepsakes convention. Since I was not in the class, but just volunteering, I did not make them while I was there, but the teachers were very generous and I got a kit for each one with insturctions. Naturally, I had to embellish, modify and make them mine. It was a lot of fun to play around. These three cards are from the class called "Card Work not House Work: Wash, Dry, and Embellish" by Wendy Johnson. It was fun. My favorite part was the glue charms with rub ons on top -- look really snazzy for just a glob of glue if you ask me. Look for me to do this on future cards. *smiles* I also like how these cards involve no stamping. It was good for me to work a little more with paper and no stamps.

Comments

Lisa said…
Amanda these are beautiful. I don't see us as just "rubber stampers" We are paper crafters. I think anyone would be thrilled to receive one of these. P.S. I love the glue dot!

Popular posts from this blog

My Decade Later Comeback and Playing Catch Up

Hello friends, It's been awhile and I kind of dropped off the face of the planet since moving to Oregon. I got busy with growing four babies into teens, and attempting to hold together a marriage with a partner who was working out of town for the most part. It was a lot! Truth be told, I have been spending most of my time over on Instagram which allows for more quick picture and caption posts (@the.amanda.sewell), but I really, genuinely miss having a journal of our adventures, so I'm back.  Some changes, my ex-partner moved out in October of 2023 (after 23 years of marriage, who would have thought?) and I am on a new, single mom adventure with the fabulous four. Luckily, they are adjusting to the changes well as we navigate this challenging time as a family team. Things are still in flux and hopefully at the end of all of this, the dust will settle and we will end up landing on our feet. Because of this change, I needed to go back to work and after not working for the past lo...

ALMOST TO 50K

EDITED TO ADD: I go by my first name, not my middle. My first name is Amanda. *smiles* Also, I am going to keep this post bumped up to the top so people can find it, but I will be posting more, so please take a moment to scroll down to find the latest stuff -- this will stay up until 50K is reached. *************************** I am so amazed that so many people have been interested in little old stamping me. Okay, well, not me actually, probably mostly my work, but either way, I'm SUPER FLATTERED! I appreciate all the comments you leave me. They really do validate me and make me feel like I should keep on going with this blog. You all ROCK! So, I have decided to do a small giveaway to show my appreciation to you. I will have two separate contests. Both of these contests will win you blog candy (yummy embellishments, and other such fun stuff). The first one is to guess my middle name. You can post your guess as a comment to this post and then I will do a drawing of every...

It's HERE!!!!!!! Tutorial for Pinecone Balls

UPDATED: For all of you interested in winning a kit to make these balls -- go HERE by December 1st, 2007 to enter to win!!!!! HAPPY BLACK FRIDAY -- So you missed the greatest deal ever because you were too far back in line -- never fear, I am here to help your day get better!!! Okay, due to the overwhelming demand for directions, I decided to do this a little earlier than I planned because SERIOUSLY you guys are all overloading my email box. I really hope you "get" them and that at the end of this tutorial you all will be happily playing with your pretty christmas ball. Bear with me, this will be my first time ever doing this . . . INGREDIENTS: 1 sheet of 12x12 paper (or a couple if you like) 1 three inch foam ball (white foam kind) 1 package of pins (I use Applique pins - 19mm - you can get these at walmart) 1 length of ribbon (I prefer wide SU organdy) 1 thimble 1 paper cutter STEP 1 Choose your paper(Mine is by K&I Memories). Small prints or loud paper work best ...