 Today I decided to play with one of the new SU "In Color '07" shades. This one is called Vintage Violet. I found that it goes perfectly with Almost Amythest, which is fun because I had used that so rarely. I really love the monochromatic color schemes and up until now my favorite was pale plum and perfect plum, but that may have changed as of today. I am excited that it goes so well. I made two cards.
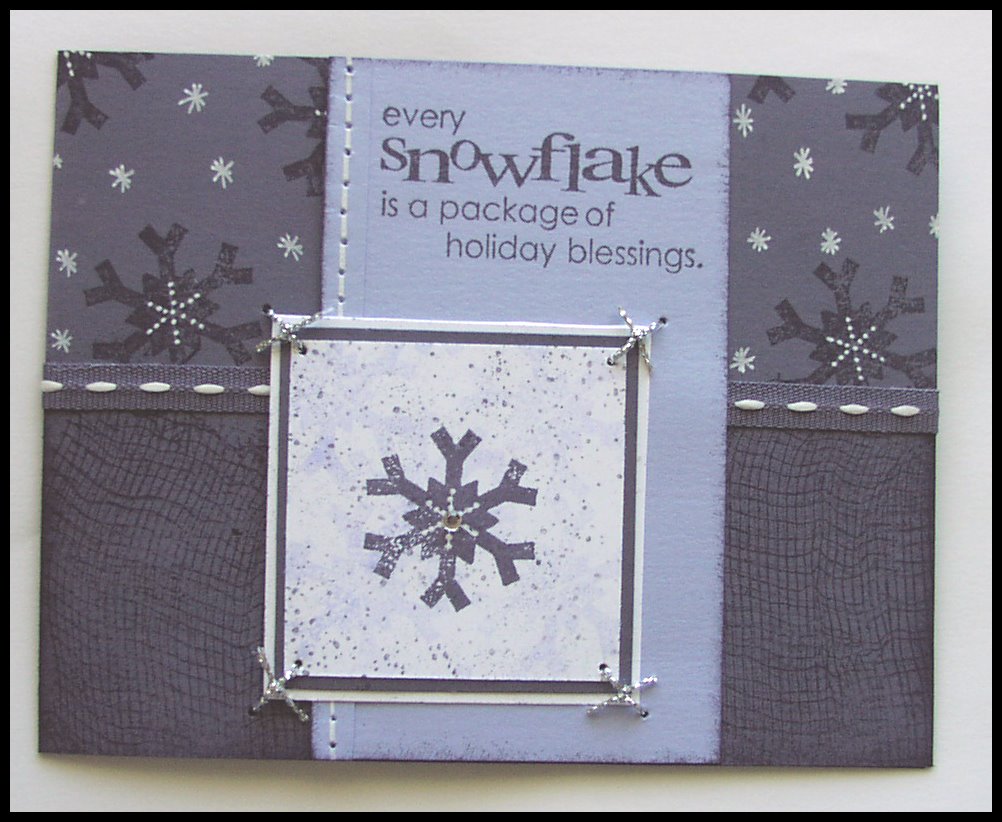
The first card uses SU's "All Through the Year" and a sentiment by Penny Black. I really LOVE love love Penny Black stamps, in particular the sentiments. They are just gorgeous. The background is SU "Cheesecloth," tone on tone, on half the card (in vintage violet), divided by a piece of vintage violet ribbon, then the snowflake tone on tone. The center of each snowflake was dotted using a gelly roll white gel pen. The little white snowflakes were just an afterthought -- I started to doodle and it worked. The amythest panel is sponged on the edges and faux stitched up one side. The main image is stamped in vintage violet, with almost amythest stamped in the background of it, as well as SU "Itty bitty backgrounds" in stamped off vintage violet. Last, but not least, silver cord was tied on each of the corners and a little gem was added to the very center of the main image snowflake. I am really satisfied with the results of this one. I must say this picture of it does not do it justice.
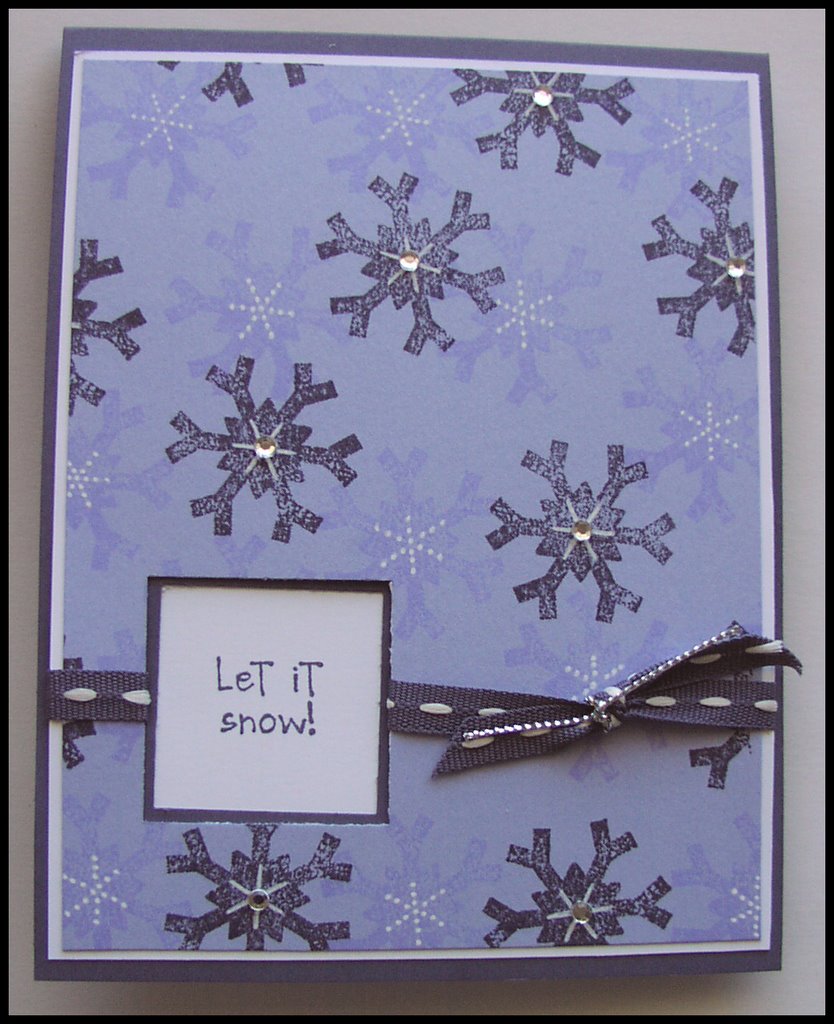 The second card uses the punched window idea. The base of the card is vintage violet, followed by a layer of whisper white and then almost amythest. The snowflake from SU "All Through the Year" is stamped in both vintage violet and almost amythest and then accented with white gel pen. Gems were added to the center of each of the darker snowflakes. Ribbon (vintage violet) was placed around the window, and the sentiment "Let It Snow!" from SU "Tiny Talk" was added in the window. I like both of these a lot and might have to make some assembly line versions of both and send out as Christmas cards.
I fully intend to do the color challenge on splitcoaststampers which includes vintage violet, but I thought I would get these uploaded before I got buried in stamping supplies and the like . . .
Comments