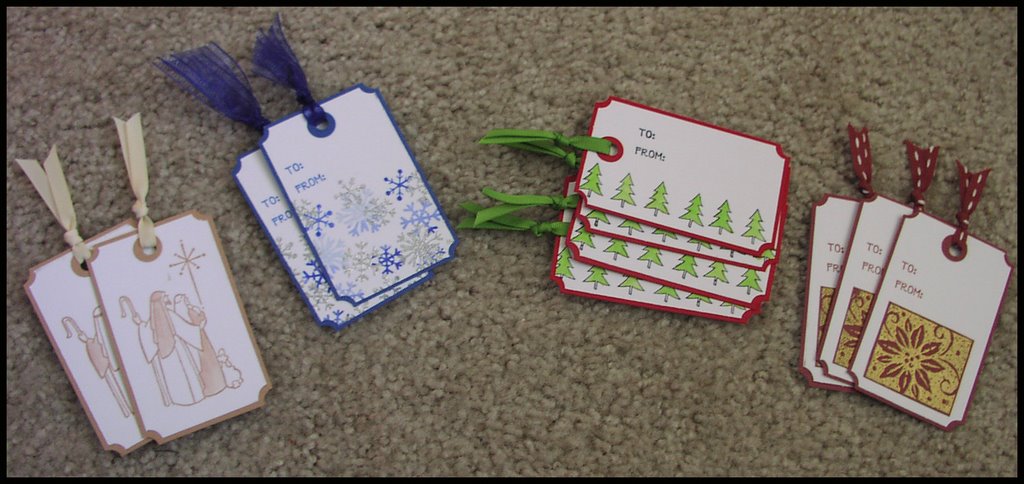
Yesterday I was inkspired to work on Christmas gift tags because I wrapped all my presents while I had none and I just put initials on the top of each one, and I think they will look much cuter with tags. ALSO, I am going to do my drawing from my first 100 subscribers today because we finally made it there, and in their prize pack, I will be including a bunch of gift tags. I will post the winner late tonight or tomorrow morning, depending on how bedtime goes with my kids tonight. They are so simple to make but pack quite a punch -- people will think you are so sweet and caring to have made them *wink wink* I did four designs yesterday but I have some other ideas in mind . . .
This first one is using that Stampendous Holy Family stamp again. I really love that stamp. I also love it mostest with creamy caramel. It seriously just sets it off. I aquapainted the caramel details on their clothing. The ribbon on top is cream grosgrain from SU! I also used my corner punch from SU! to make these adorable edges. Okay, I have a little confession, don't rat me out to everyone kay . . . the tag shape idea came from these awesome Basic Grey chipboard tags that I have. But, instead of using the one tag up making one gift tag, I decided to trace the pattern and then decorate the new piece. This was a cool plan because each of the tags is the same size, and I still have the chipboard to use as I wish on a later project.
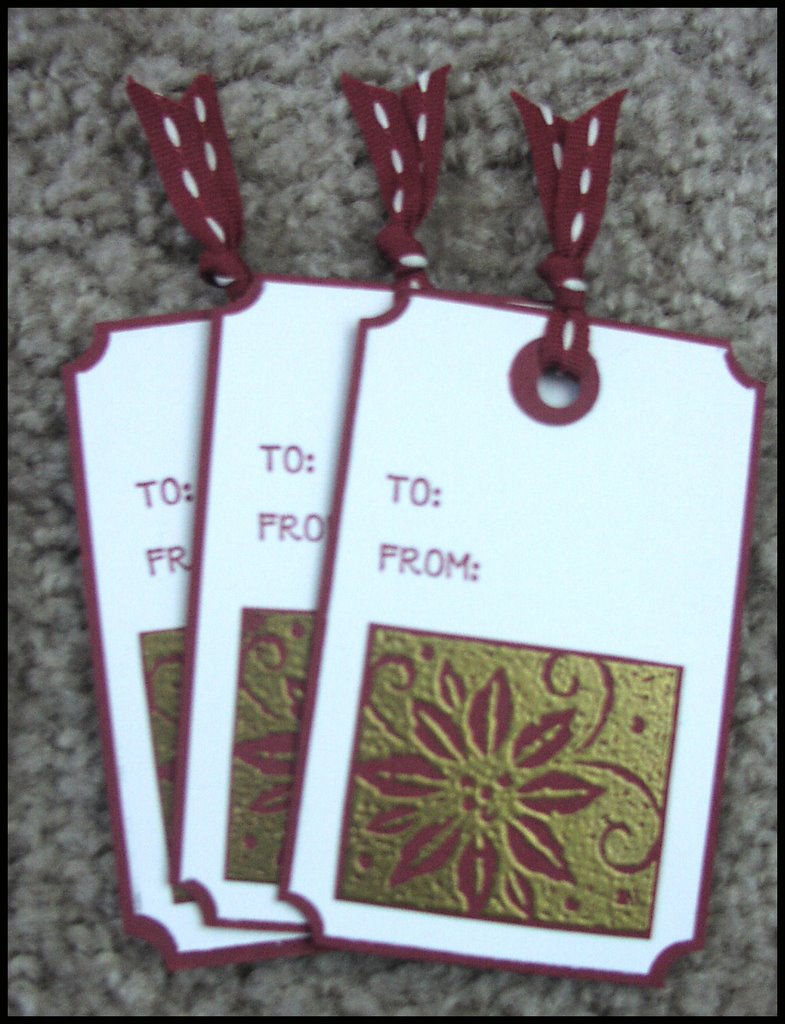
 This one is my DH's favorite. I stamped and embossed the poinsettia in gold on cranberry crisp cardstock. The poinsettia comes from SU's "Happiest of Holiday's" set which I got for free because I thought I might use it and used my SU hostess benefits on it. I then layered the cut out image on the white cardstock tag and added the cranberry crisp background layer, ribbon, and a little circle punch out at the top. All in all, pretty cute, but not my favorite one . . .

The next one was a quick one. The stamp came from Michael's $1 stamps. I was lucky to find it. I really love how simple it was to just stamp it and color it in. I used my aquapainter and the lid of the ink pad. After it dried a bit, I used my glaze pen to add a little faux embossed look. I colored all the trees in and it really did add something to the overall look of the tag. I think this one turned out well and was so easy I might make some more of them.
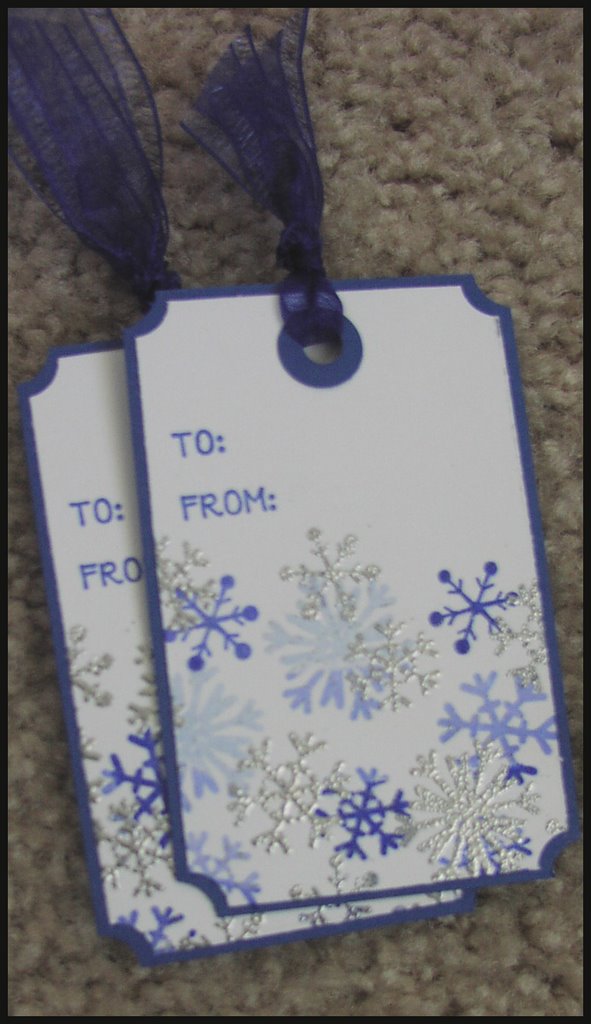
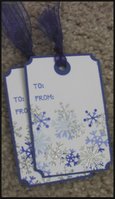 Finally, my favorite one. This one uses another stamp I found in the Michael's $1 bin, and then I also stamped a bit using the snowflake stamp from SU's "Cold Play." Can I just tell you that I seriously love that little snowflake in that set. It is just the perfect size to use as a filler when you have some odd space left when stamping snowflakes. I stamped in blue, using a spectrum pad. Then I stamped in versamark and embossed in silver. When the embossing had cooled and the ink had dried, I used my glaze pen to make the blue snowflakes look embossed too. The overall results just rocked! I love this one. It is so pretty in real life. The ribbon was some bright blue fat organdy that my DH bought for me a couple years ago for Christmas which totally matched the brilliant blue ink perfectly!!!
So that is what I was up to yesterday . . . we will see what today brings for me . . .
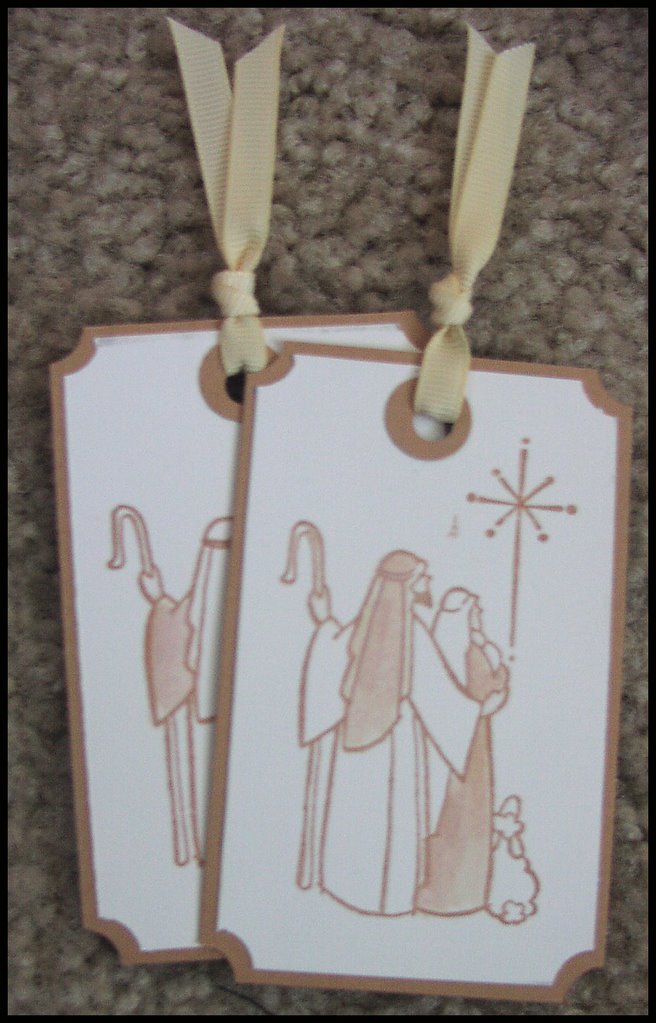
This first one is using that Stampendous Holy Family stamp again. I really love that stamp. I also love it mostest with creamy caramel. It seriously just sets it off. I aquapainted the caramel details on their clothing. The ribbon on top is cream grosgrain from SU! I also used my corner punch from SU! to make these adorable edges. Okay, I have a little confession, don't rat me out to everyone kay . . . the tag shape idea came from these awesome Basic Grey chipboard tags that I have. But, instead of using the one tag up making one gift tag, I decided to trace the pattern and then decorate the new piece. This was a cool plan because each of the tags is the same size, and I still have the chipboard to use as I wish on a later project.
 This one is my DH's favorite. I stamped and embossed the poinsettia in gold on cranberry crisp cardstock. The poinsettia comes from SU's "Happiest of Holiday's" set which I got for free because I thought I might use it and used my SU hostess benefits on it. I then layered the cut out image on the white cardstock tag and added the cranberry crisp background layer, ribbon, and a little circle punch out at the top. All in all, pretty cute, but not my favorite one . . .
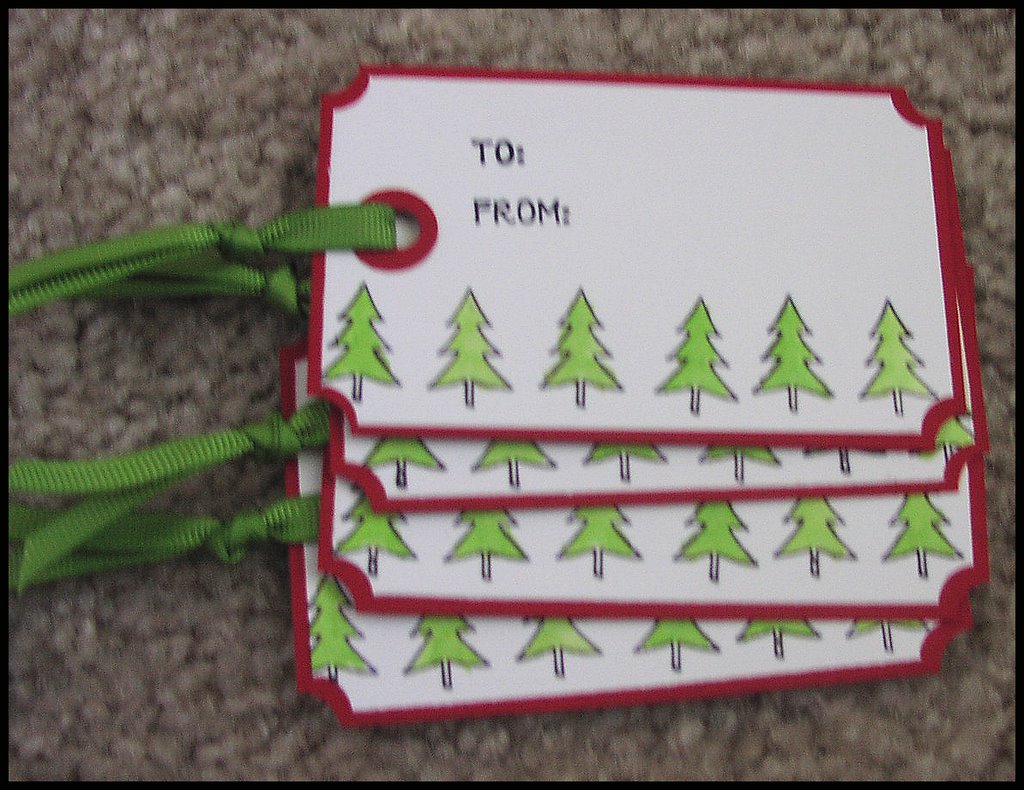
The next one was a quick one. The stamp came from Michael's $1 stamps. I was lucky to find it. I really love how simple it was to just stamp it and color it in. I used my aquapainter and the lid of the ink pad. After it dried a bit, I used my glaze pen to add a little faux embossed look. I colored all the trees in and it really did add something to the overall look of the tag. I think this one turned out well and was so easy I might make some more of them.
 Finally, my favorite one. This one uses another stamp I found in the Michael's $1 bin, and then I also stamped a bit using the snowflake stamp from SU's "Cold Play." Can I just tell you that I seriously love that little snowflake in that set. It is just the perfect size to use as a filler when you have some odd space left when stamping snowflakes. I stamped in blue, using a spectrum pad. Then I stamped in versamark and embossed in silver. When the embossing had cooled and the ink had dried, I used my glaze pen to make the blue snowflakes look embossed too. The overall results just rocked! I love this one. It is so pretty in real life. The ribbon was some bright blue fat organdy that my DH bought for me a couple years ago for Christmas which totally matched the brilliant blue ink perfectly!!!
So that is what I was up to yesterday . . . we will see what today brings for me . . .
Comments
-Stampin' Mama