 Seriously since I have been mostly cut off of stamping (aka, I can do it but it is a chore now to get everything out) -- I have been crocheting a lot more and baking up a storm. Today was no exception -- I made pumpkin cupcakes to take to some friends. I am still working on figuring out the best way to carry them to people -- I did see a cupcake box at Hobby Lobby that holds four of them and I think I might get one of those to copy from. Anyway, here is the recipe for the pumpkin cupcakes. The spiders are just spider rings with the ring part cut off. I made some like this last year (but I sprayed them with that frosting spray and stuck the whole rings in so these ones look better today), but really the only thing new is the pumpkin cupcake recipe. I think this afternoon I am going to make rootbeer cupcakes so I will post that one a little later. . . watch for it.
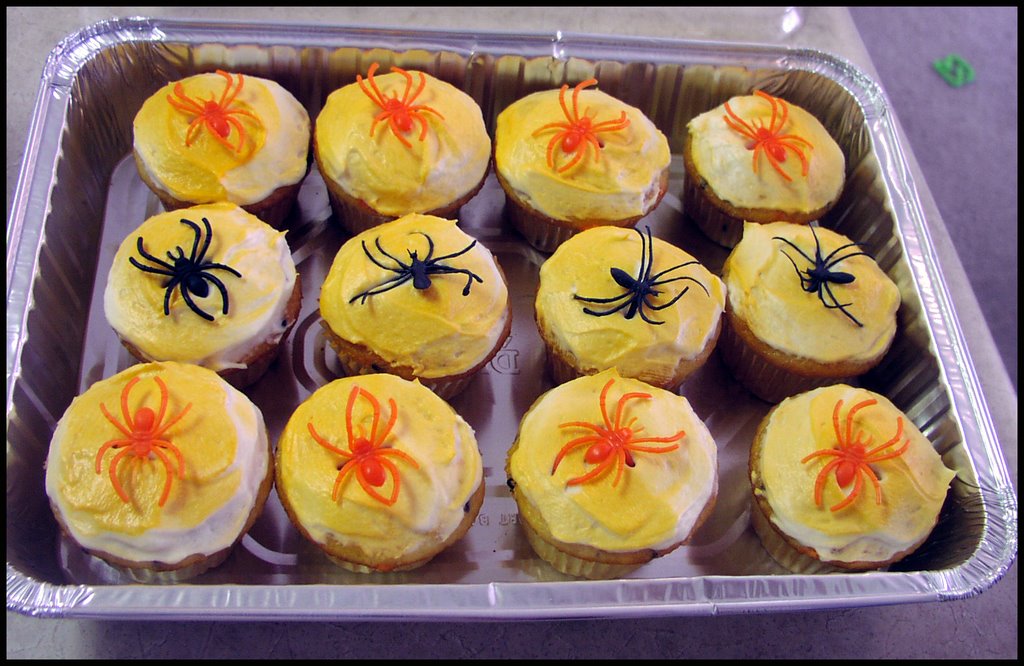
PUMPKIN CUPCAKES
 (Yield: 2 doz.)
1/4 lb (1 stick) unsalted butter
1 c. firmly packed brown sugar
1/3 c. granulated sugar
2 large eggs, at room temperature
2 cups cake flour (or all purpose if that is what you have)
2 tsp baking powder
1 tsp ground cinnamon
1 tsp ground ginger
1/2 tsp ground nutmeg
1/2 tsp salt
1/2 c. milk
1 1/4 c. pumpkin puree, canned or fresh
1 tsp. vanilla extract
DIRECTIONS:
Preheat oven to 350F. Insert liners into a medium cupcake pan. In a large bowl cream together the butter and sugars until fluffy (3-5 minutes). Add the eggs to the creamed mixture one at a time, mixing after each addition. Beat well.
In a separate bowl combine the flour, baking powder, cinnamon, ginger, nutmeg, cloves and salt. Add the dry ingredients to the creamed mixture, alternating with milk. Mix until completely integrated. Add the pumpkin and vanilla and beat until smooth. Fill the cupcakes 1/2 to 3/4 full. Bake for 20-25 minutes or until a toothpick inserted in the center of the cupcakes comes out clean. Cool cupcakes in pan. Frost as desired. I used a basic cream cheese frosting, with a pinch of cinnamon added and some food coloring.
Here is a second yummy pumpkin recipe for you. I found it on Martha Stewart the other day and I tried it and it is wonderful! I love fall!!!
PUMPKIN SHAKE
1/2 cup pumpkin puree
1 cup vanilla ice cream (a healthy friend told me to use frozen yogurt here)
1/2 cup milk
pinch of cinnamon
Mix ingredients in a blender until smooth. ENJOY!
Comments
Robin Thompson (robth on Splitcoast)
Okay, I want to see the rootbeer cupcakes! I'm going to a co-worker's house tomorrow night for a farewell and would be interested in making some! (I'll even take most of what I make! HAHA!)
Now That I have said hello-How many cupcakes does your recipe make? I need to know if I have to double it to feed my hungry boys and have some to take to work! LOL